数据绑定
在呈现单个数据的时候,可以使用文本控件。那么在呈现多条数据的时候,如何表现出来呢?在Flex中就已经提供了呈现多条数据的各种数据绑定控件,使用这些控件,就可以设计出各种样式的数据列表。:
数据列表List
横向数据列表HorizontalList
交叉数据列表TileList
下拉列表ComBox
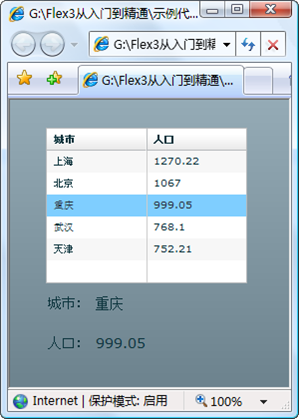
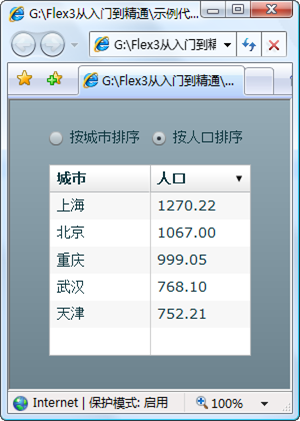
数据网格DataGrid
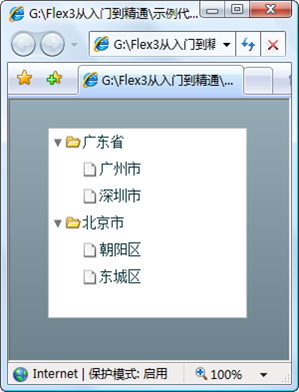
树列表Tree
一、数据列表
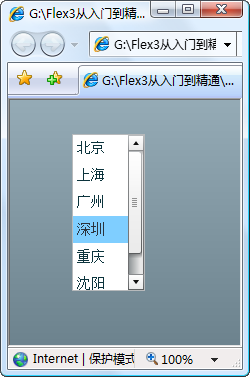
在呈现一个一维数据集合的时候,使用数据列表是最直观方便的。默认情况下,数据列表是一列多行的形式,即纵向的呈现数据。
1.1 使用List控件创建数据列表
在Flex中,已经提供了一个数据列表List控件。将数据列表List控件与相关的数据集绑定,便可以在数据列表中呈现需要的数据。
- <?xml version="1.0" encoding="utf-8"?>
- <mx:Application xmlns:mx="http://www.adobe.com/2006/mxml" layout="absolute">
- <mx:List x="62" y="34" width="73" height="157" fontSize="14">
- <mx:dataProvider>
- <mx:String>北京</mx:String>
- <mx:String>上海</mx:String>
- <mx:String>广州</mx:String>
- <mx:String>深圳</mx:String>
- <mx:String>重庆</mx:String>
- <mx:String>沈阳</mx:String>
- </mx:dataProvider>
- </mx:List>
- </mx:Application>
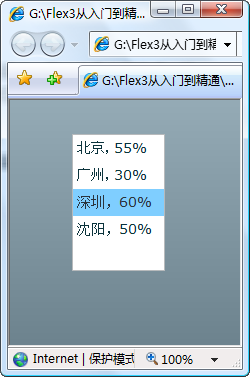
1.2 使用ActionScript在List控件中绑定数据
除了在List控件的内部直接填充数据外,还可以使用ActionScript脚本语言在外部定义数据。通过使用ActionScript语言定义的数据集与控件List绑定,也可以呈现出来,并且比之前在内部定义的方法更灵活和有效。
?
- <mx:Application xmlns:mx="http://www.adobe.com/2006/mxml" layout="absolute"
- creationComplete="InitApp()">
- <mx:Script>
- <![CDATA[
- import mx.collections.ArrayCollection;
- /**
- * 初始化,绑定数据到列表中
- * */
- private function InitApp():void
- {
- // 定义对象
- var city:Object;
- // 定义集合
- var citys:ArrayCollection = new ArrayCollection();
- // 添加数据
- city = new Object();
- city.label = "北京";
- city.data = "55%";
- citys.addItem(city);
- city.label = "广州";
- city.data = "30%";
- city.label = "深圳";
- city.data = "60%";
- city.label = "沈阳";
- city.data = "50%";
- // 绑定
- listCity.dataProvider = citys;
- }
- * 设置显示内容
- private function listCity_labelFunction(item:Object):String
- return item.label + "," + item.data;
- ]]>
- </mx:Script>
- <mx:List id="listCity" labelFunction="listCity_labelFunction" x="62" y="34"
- width="93" height="137" fontSize="14">
- </mx:List>
- </mx:Application>